Brick Street Chocolate Cake is a surprise that you can share with special people. This cake is a popular chocolate cake that you will dream of. The combination of softness and special taste makes this cake very popular. Just look at when this chocolate cake is served, of course it makes us impatient to immediately enjoy it.
If you have never found this recipe in a recipe book that you have had before, of course I am very happy to be able to share this recipe with you, and I hope you like it too.
 |
| Famous Brick Sreet Chocolate Cake |
Not from a personal experiment, but this recipe I accidentally got from my best friend who worked for a cake maker company. I admit he is indeed very great and fast at making delicious and fantastic cakes, a professional cook, a woman's ideal, of course ... Hhh
Okay then what makes this chocolate cake so special? For me, it is more like the taste of the chocolate, so this is a true chocolate cake. See the look of this cake is really full of chocolate, without other combinations of combinations, it's really brown, in terms of presentation it's quite simple not too fancy with a combination of other ingredients that are different, but it's more than enough to make you like it.
 |
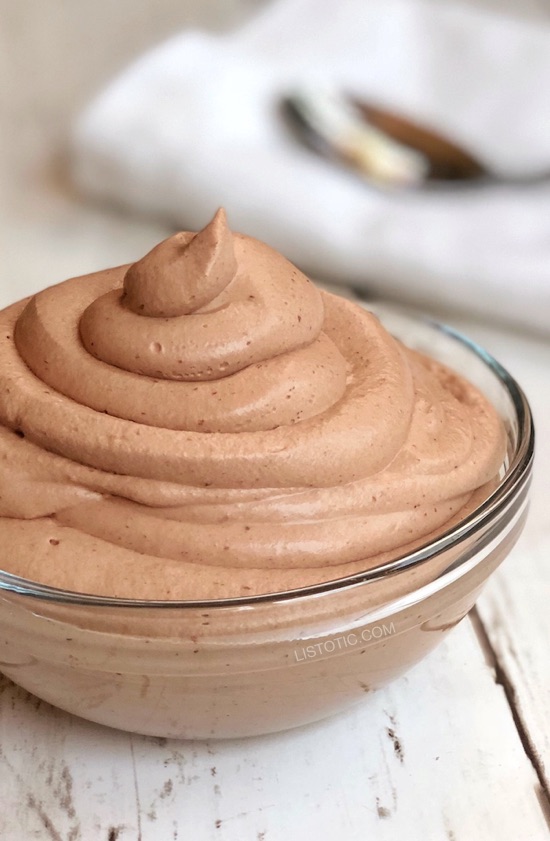
| Brick Sreet Chocolate Cake |
The appearance of the chocolate cake is more dominated by chocolate cream that covers all the top of the cake and on the side looks like melted chocolate lava that teases the tongue. If seen like chocolate pudding. Okay, I don't need to draw too long again, see recipe below if you want to try making this popular dessert chocolate cake.
Ingredients
Cake:
2 cups sugar
1 cup butter, softened
1 1/2 teaspoons pure vanilla extract
3 large eggs
2 1/2 cups cake flour
1 cup baking cocoa, sifted
2 teaspoons baking soda
1/2 teaspoon salt
1/2 cup instant chocolate pudding mix (small box)
2 1/4 cups buttermilk
1 cup semi-sweet chocolate chips
Chocolate Icing:
1/2 cup water
1/2 cup butter
1 teaspoon vanilla
1 cup baking cocoa, sifted
3 1/2 cups powdered sugar
3 tablespoons heavy cream (more or less for consistency)
Instructions
Cake:
- Preheat CONVECTION OVEN ONLY to 350°.
- Beat sugar, butter & vanilla in large bowl.
- Beat in eggs.
- Mix in cake flour, baking cocoa, soda, salt, chocolate pudding mix and buttermilk.
- Stir in semi-sweet chocolate chips.
- Pour into greased tube pan.
- Bake in CONVECTION OVEN ONLY at 350° for 60-70 minutes, until cake tester comes out clean.
- Cool cake completely before icing.
Chocolate Icing:- Heat water, butter and vanilla together in sauce pan on stovetop until melted.
- Remove from heat.
- Stir in one cup cocoa.
- Stir in powdered sugar, sifted.
- Stir in heavy cream, up to 3 tablespoons until you get the desired consistency.
- Ice by filling the hole in the middle of the cake first, then spread icing over the cake and pour over the sides. Icing will harden as it cools.
Notes
Bake in convection oven only. This does not work in a traditional oven.
I bake this Brick Street cake in a two-piece, round, metal angel food cake pan, also called a tube pan in some places. There is a hollow tube going up the center of the pan. It measures 9.5" across at the top and 8" across at the base and is 4.25" high. It is by Ecko. The bottom and center hollow tube are one piece and lift up and out of the sides of the pan. Unfortunately there aren't standard size baking pans around the world, making it difficult, but I hope this gives you a good idea. Many others have baked this in a large bundt pan as well, with good success.
If dry pudding mix isn't available to buy in your country, here is a recipe for a dry pudding mix http://momsneedtoknow.com/how-to-make-homemade-chocolate-pudding/ Just use 1/2 cup of this mix in place of the instant pudding mix. (Do not make the mix into pudding, just use 1/2 cup of the dry pudding mix.)
Reference :
Brick Street ChocolateGood luck, hopefully what I share in this post can be useful for readers, for those of you who have tried this recipe can comment below, if you feel this article useful please share it via social media, you can choose one of the buttons below so this article can also be read and useful for your friends.


